How To Remote Connect IoT Devices Behind A Firewall On Mac For Free
So, listen up, folks. If you're diving into the world of IoT (Internet of Things), there's a good chance you've hit a wall when trying to remote connect your devices behind a firewall. It’s not just about setting up your gadgets; it’s about doing it securely and, most importantly, without breaking the bank. In this guide, we’ll break down everything you need to know about remote connecting IoT devices behind a firewall on a Mac—for free. No fancy jargon, just straight talk. Let’s get started, shall we?
You’re probably thinking, “Why is this so complicated?” Well, here’s the deal: firewalls are designed to protect your network from unauthorized access. But when you want to control your IoT devices remotely, you’ve got to find a way to bypass that protection without compromising security. It’s like trying to sneak into a secret club, but instead of flashing a fake ID, you’re using tech wizardry.
And hey, let’s face it—nobody wants to spend a fortune on software when there are free alternatives that work just as well. That’s why we’re going to show you how to do it without paying a dime. Whether you’re a tech enthusiast or just someone trying to keep their smart home running smoothly, this guide’s got your back.
Read also:Trippie Redd Leaked Tapes The Untold Story Behind The Hype
Before we dive deeper, here’s a quick roadmap of what we’ll cover:
- What is remote connecting IoT behind a firewall?
- Why use a Mac for this?
- Free tools and methods to achieve this
- Security considerations
- Step-by-step guides
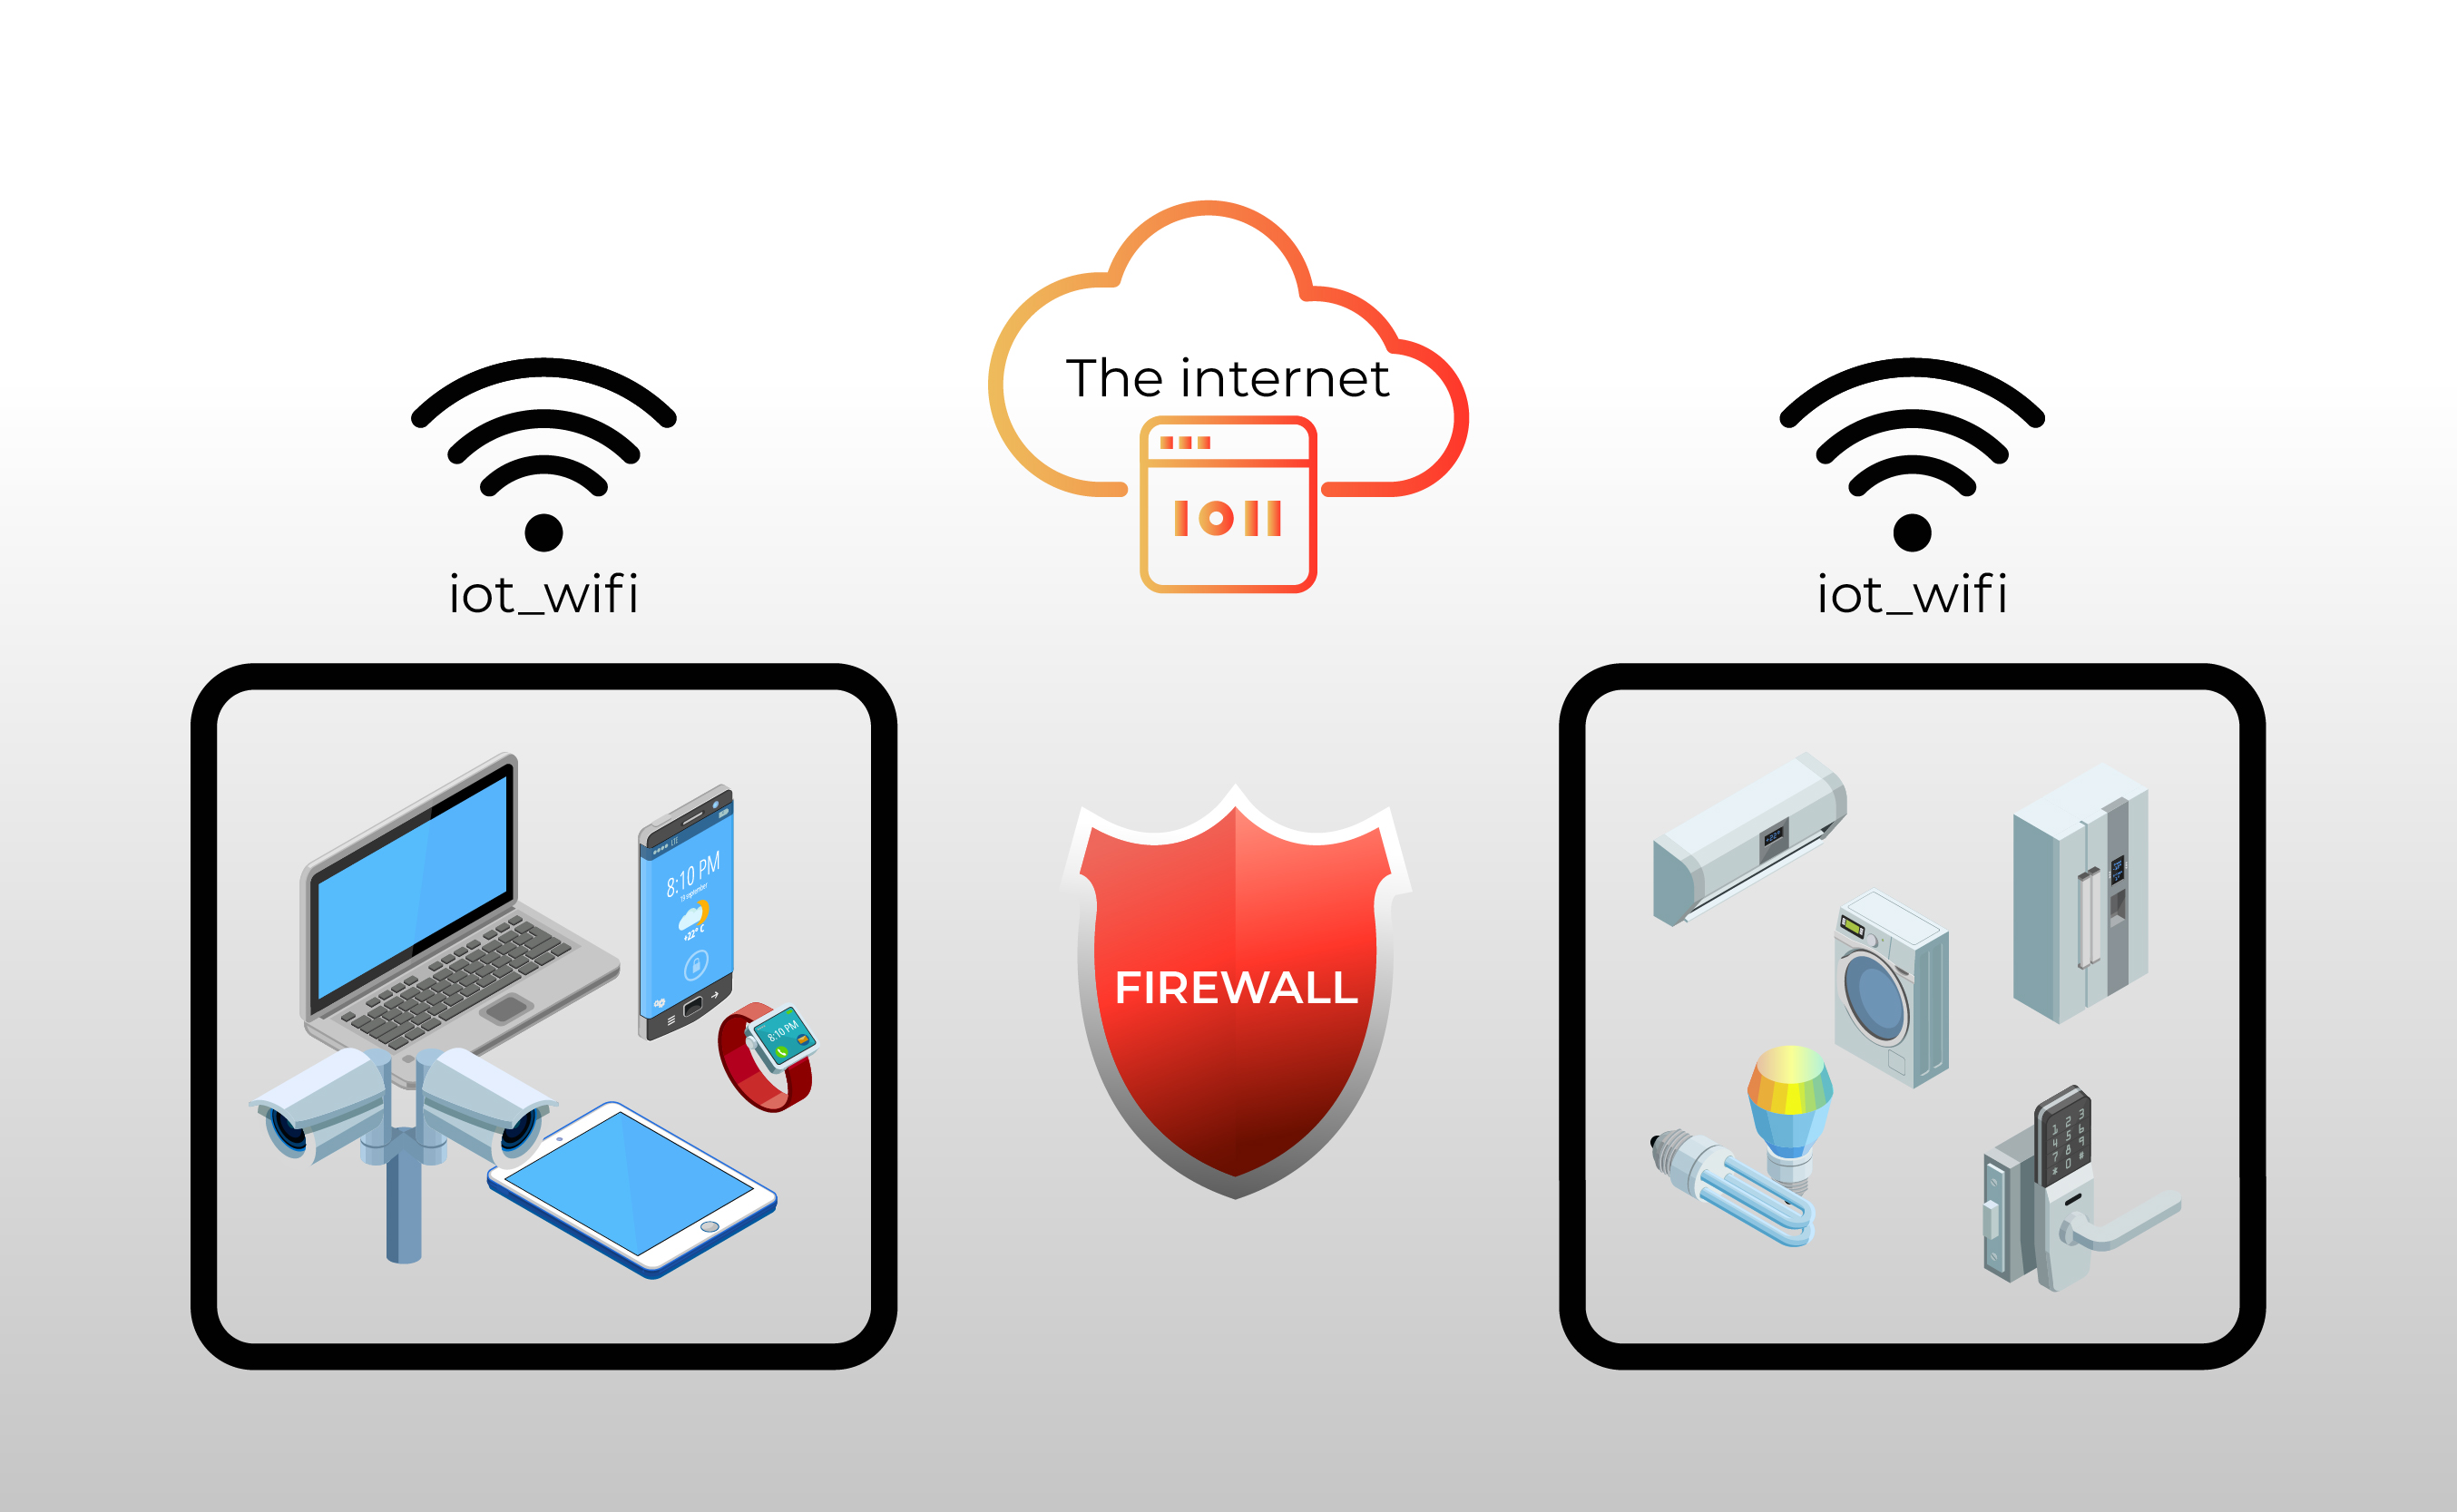
What is Remote Connecting IoT Behind a Firewall?
Alright, let’s start with the basics. When you have IoT devices—like smart thermostats, security cameras, or even your smart fridge—connected to your home network, they’re usually protected by a firewall. This firewall acts as a digital bouncer, keeping unwanted visitors out. But what if you want to control these devices while you’re miles away? That’s where remote connecting comes in.
Remote connecting means accessing your IoT devices from anywhere in the world, as long as you have an internet connection. The challenge is doing this while your devices are tucked safely behind a firewall. It’s like trying to talk to someone in a soundproof room—you need a special way to break through that barrier.
And here’s the kicker: you can do it for free. There are plenty of tools and methods out there that let you achieve this without spending a cent. So, whether you’re a budget-conscious techie or just someone looking to save a buck, this is the way to go.
Why Use a Mac for Remote Connecting?
Now, you might be wondering, “Why use a Mac specifically?” Well, there are a few reasons. First off, Macs come with some powerful built-in tools that make remote connecting a breeze. Things like SSH (Secure Shell) and port forwarding are already at your fingertips, so you don’t need to download extra software.
Plus, Macs are known for their stability and security. When you’re dealing with sensitive data—like accessing your smart home devices—you want to make sure your system is as secure as possible. Macs have a reputation for being tough to hack, which gives you peace of mind when you’re connecting remotely.
Read also:Schoolboy 9 The Rising Star Shaping The Future Of Music
But don’t worry, this guide isn’t just for Mac purists. Even if you’re using a Windows machine or a Linux setup, you can still follow along and adapt the steps to fit your needs. After all, the goal is to get your IoT devices connected, no matter what platform you’re on.
Free Tools to Remote Connect IoT Devices
Let’s talk about the good stuff: the tools. There are tons of free options out there that let you remote connect your IoT devices without spending a dime. Here are a few of our favorites:
- SSH (Secure Shell): This is a protocol that allows you to securely connect to remote devices. It’s built into most Macs, so you don’t need to download anything extra.
- ngrok: This is a handy tool that creates a secure tunnel to your local server. It’s super easy to set up and works like a charm for remote connections.
- Tailscale: This is a modern take on the traditional VPN. It’s free for personal use and makes connecting to your IoT devices a breeze.
Each of these tools has its own strengths and weaknesses, so it’s worth experimenting to see which one works best for you. But don’t worry—we’ll walk you through each one in detail later on.
Why Choose Free Tools?
You might be wondering, “Why not just pay for a service?” Well, here’s the thing: free tools can be just as effective as paid ones, especially if you’re just starting out. Plus, they give you the flexibility to experiment without committing to a subscription. And let’s be honest—who doesn’t love saving money?
But that doesn’t mean you should completely rule out paid options. If you’re running a business or managing a large network of IoT devices, a paid service might offer more features and support. For personal use, though, free tools are usually more than enough.
Understanding Firewalls and Their Role
Before we dive into the nitty-gritty of remote connecting, it’s important to understand what firewalls are and how they work. Think of a firewall as a digital gatekeeper. Its job is to monitor incoming and outgoing traffic and block anything suspicious. This is great for security, but it can also make remote connecting a bit tricky.
Most firewalls are configured to block incoming connections by default, which means your IoT devices are essentially hidden from the outside world. To remote connect, you need to find a way to bypass this protection without compromising security. It’s like finding a secret passage into a fortress.
There are a few ways to do this, and we’ll cover them in detail later. But for now, just know that firewalls are both a blessing and a curse when it comes to remote connecting. They keep your network safe, but they also make things a little more complicated.
Types of Firewalls
Not all firewalls are created equal. Here are the three main types you’re likely to encounter:
- Software Firewalls: These are installed on individual devices and control traffic at the application level.
- Hardware Firewalls: These are standalone devices that sit between your network and the internet. They’re usually found in home routers.
- Cloud Firewalls: These are managed by third-party providers and offer advanced features like intrusion detection and prevention.
Knowing which type of firewall you’re dealing with can help you choose the best method for remote connecting. For most home users, a hardware firewall is the most common setup.
Security Considerations
Now, let’s talk about the elephant in the room: security. When you’re remote connecting IoT devices, you need to make sure you’re doing it safely. The last thing you want is for someone to hack into your smart home and mess with your devices.
Here are a few security tips to keep in mind:
- Use Strong Passwords: This one’s a no-brainer, but it’s worth repeating. Make sure your IoT devices and network are protected with strong, unique passwords.
- Enable Two-Factor Authentication: If your devices support it, enable two-factor authentication for an extra layer of security.
- Keep Software Up-to-Date: Regularly update your devices and network to patch any security vulnerabilities.
By following these tips, you can enjoy the convenience of remote connecting without worrying about security breaches.
Common Security Threats
It’s also important to be aware of common security threats when remote connecting IoT devices. Here are a few to watch out for:
- Brute Force Attacks: These occur when someone tries to guess your password by trying every possible combination.
- Man-in-the-Middle Attacks: These happen when someone intercepts your communication between devices.
- Malware: This is any malicious software that can compromise your devices or network.
Being aware of these threats can help you take the necessary precautions to protect your IoT setup.
Step-by-Step Guide to Remote Connect IoT Devices
Alright, let’s get down to business. Here’s a step-by-step guide to remote connecting your IoT devices behind a firewall on a Mac for free:
Step 1: Set Up SSH
First things first, you need to set up SSH on your Mac. SSH allows you to securely connect to your IoT devices from anywhere. Here’s how to do it:
- Open Terminal on your Mac.
- Type
ssh user@your-device-ipand press Enter. - Enter your password when prompted.
That’s it! You’re now connected to your IoT device via SSH.
Step 2: Configure Port Forwarding
Next, you need to configure port forwarding on your router. This allows incoming connections to reach your IoT devices. Here’s how:
- Log in to your router’s admin panel.
- Find the port forwarding section.
- Add a new rule for the port you want to forward.
Make sure to choose a secure port number and restrict access to only the necessary devices.
Step 3: Use ngrok for Secure Tunneling
Now, let’s set up ngrok to create a secure tunnel to your local server. Here’s how:
- Download and install ngrok from their website.
- Run
ngrok http your-port-numberin Terminal. - Copy the public URL provided by ngrok and use it to access your IoT device remotely.
With ngrok, you can access your devices from anywhere without worrying about firewalls or complicated configurations.
Advanced Techniques
For those of you who want to take things to the next level, here are a few advanced techniques to consider:
Using Tailscale for Seamless Connections
Tailscale is a modern take on the traditional VPN. It’s designed to make connecting to your IoT devices as easy as possible. Here’s how to set it up:
- Download and install Tailscale on your Mac and IoT devices.
- Create a free account and log in.
- Connect your devices to the same Tailscale network.
With Tailscale, you can access your devices securely and seamlessly, no matter where you are.
Setting Up a Reverse Proxy
A reverse proxy can be a powerful tool for remote connecting IoT devices. It acts as an intermediary between your devices and the outside world, making it easier to manage incoming connections. Here’s how to set it up:
- Install a reverse proxy server like Nginx or Apache on your Mac.
- Configure the server to forward requests to your IoT devices.
- Set up SSL certificates for secure connections.
While this method requires a bit more setup, it offers more flexibility and control over your connections.
Conclusion
So, there you have it—a comprehensive guide to remote connecting IoT devices behind a firewall on a Mac for free. Whether you’re using SSH, ngrok, or Tailscale, there are plenty of ways to achieve this without breaking the bank. Just remember to keep security in mind and follow best practices to protect your devices and network.
Now, it’s your turn. Try out these methods and see which one works best for you. And if you have any questions or run into any issues, feel free to leave a comment below. We’d love to hear from you and help you out. Happy connecting!
Article Recommendations