Securely Connect Remote IoT P2P SSH Raspberry Pi Download Windows: The Ultimate Guide
Hey there, tech-savvy friend! Are you ready to dive into the world of secure connections for your IoT devices? Securely connect remote IoT P2P SSH Raspberry Pi download Windows is a topic that’s blowing up in the tech world right now. Whether you’re a hobbyist, a developer, or just someone who loves tinkering with gadgets, this guide is about to level up your game. So grab your favorite drink and let’s get started!
Connecting IoT devices remotely can be tricky, but it doesn’t have to be. With the power of SSH and a Raspberry Pi, you can create a secure and reliable connection that works like magic. This setup allows you to control your devices from anywhere in the world, making it perfect for home automation, remote monitoring, or even building your own smart gadgets.
Before we jump into the nitty-gritty details, let me tell you why this is such a big deal. In today’s hyper-connected world, security is more important than ever. Hackers are always looking for vulnerabilities, and leaving your IoT devices exposed is like leaving your front door wide open. But don’t worry—we’ve got you covered with a step-by-step guide that ensures your connections are as secure as Fort Knox.
Read also:Sabrina Banks Leaks The Untold Story You Need To Know
Table of Contents
- What is Securely Connect Remote IoT P2P SSH?
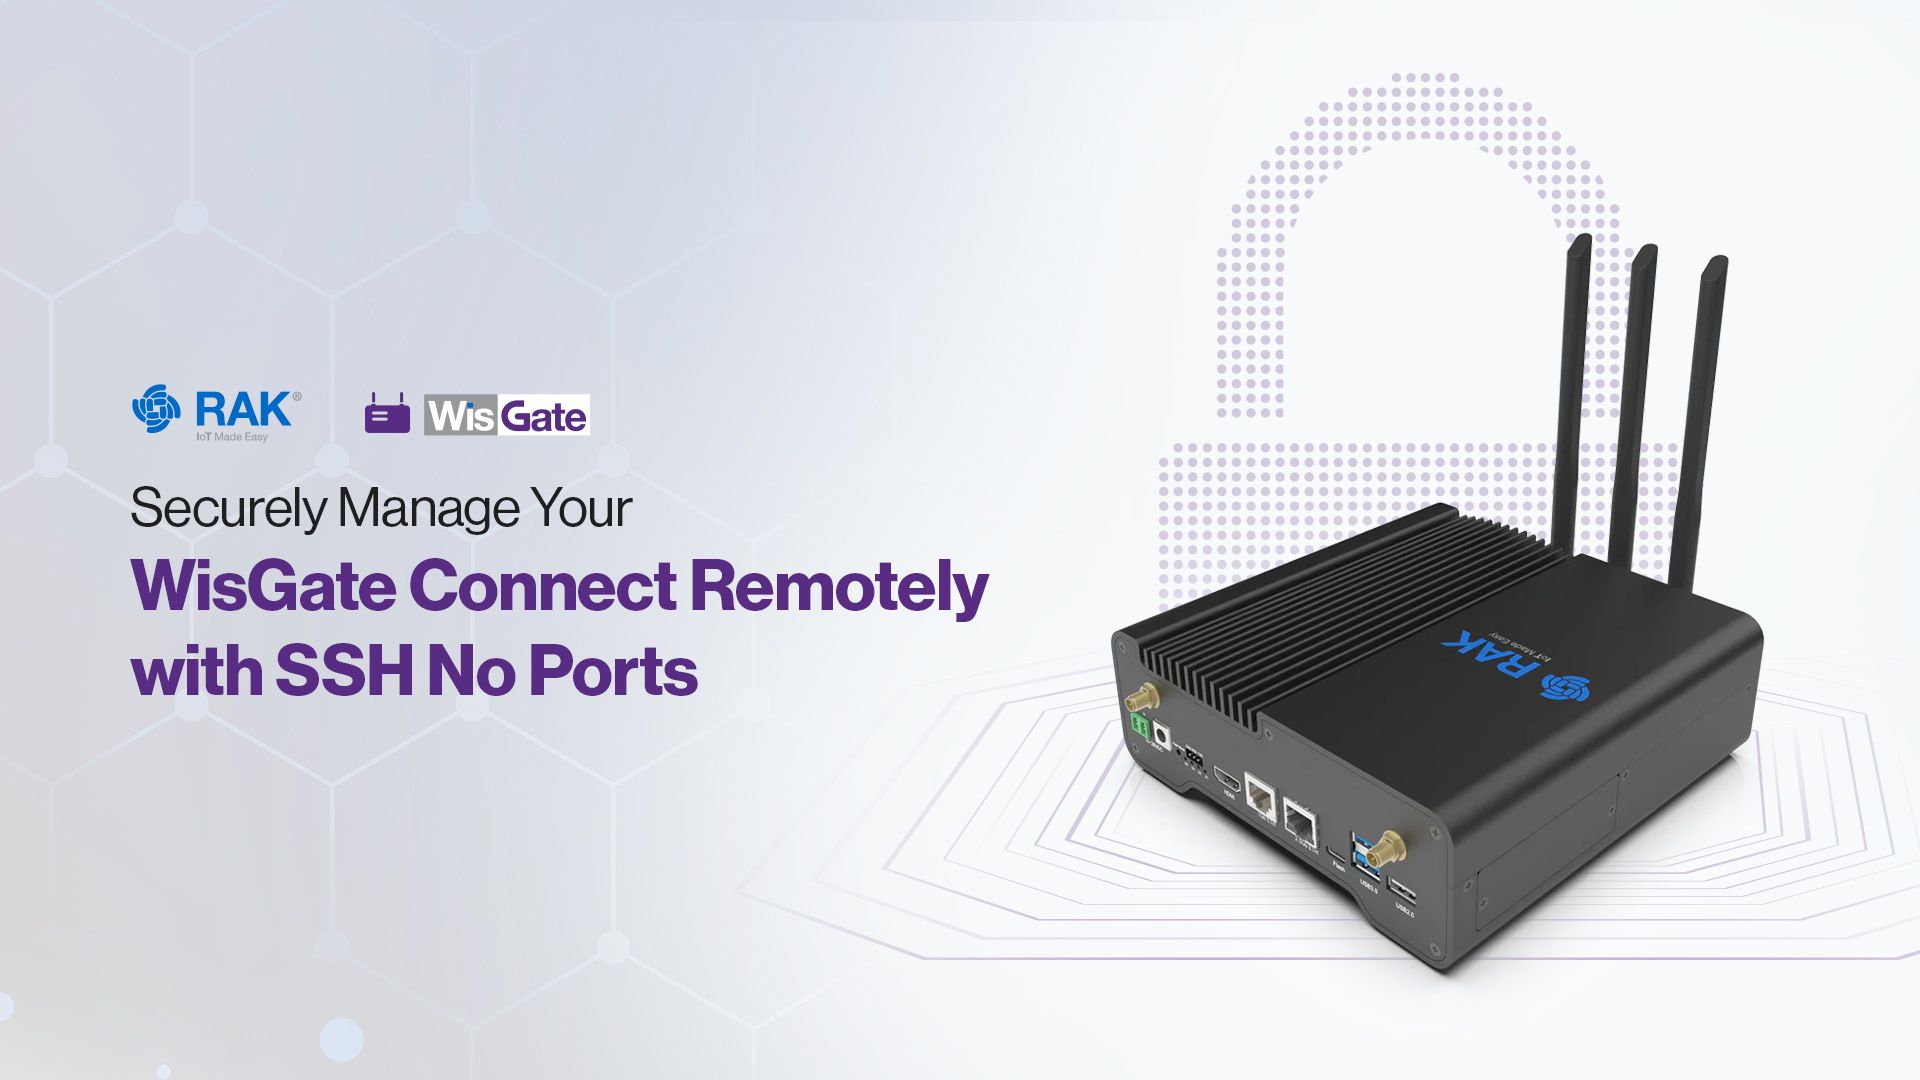
- Setting Up Your Raspberry Pi for IoT
- Understanding SSH and Its Role
- Downloading and Installing SSH on Windows
- Creating a Secure Connection
- Common Issues and How to Fix Them
- Why Security Matters in IoT
- Advanced Tips for Pro Users
- Frequently Asked Questions
- Wrapping It All Up
What is Securely Connect Remote IoT P2P SSH?
Alright, let’s break it down. Securely connect remote IoT P2P SSH is basically a method to establish a safe and private communication channel between your IoT devices and your computer. P2P (Peer-to-Peer) means that the devices communicate directly without needing a central server, which makes the whole process faster and more efficient.
Raspberry Pi plays a key role here because it acts as the brain of your IoT setup. Think of it as the command center where all the magic happens. And SSH? That’s the secure protocol that ensures your data stays safe while traveling through cyberspace.
So whether you’re controlling a smart light bulb or monitoring your home security system, this setup gives you the tools you need to do it safely and effectively.
Setting Up Your Raspberry Pi for IoT
Setting up your Raspberry Pi might sound intimidating, but trust me—it’s easier than you think. First things first, you’ll need to get your hands on a Raspberry Pi board (if you don’t already have one). Once you’ve got that, follow these steps:
Step 1: Install the OS
Download the Raspberry Pi OS from the official website and flash it onto an SD card. There are plenty of guides out there to help you with this part, so don’t sweat it if you’re new to this.
Step 2: Enable SSH
SSH should be enabled by default, but it’s always a good idea to double-check. You can do this by opening the terminal and typing:
Read also:Schoolboy 9 The Rising Star Shaping The Future Of Music
sudo systemctl enable ssh
Step 3: Connect to Wi-Fi
Make sure your Raspberry Pi is connected to your local Wi-Fi network. This will allow you to access it remotely later on.
And that’s it! Your Raspberry Pi is now ready to become the heart of your IoT empire.
Understanding SSH and Its Role
SSH, or Secure Shell, is like a secret tunnel that lets you securely access and control your devices over the internet. It encrypts all the data that passes through it, making it nearly impossible for hackers to intercept your communications.
Here’s why SSH is so important:
- Encryption: All your data is scrambled, so even if someone intercepts it, they won’t be able to make sense of it.
- Authentication: SSH ensures that only authorized users can access your devices, adding an extra layer of security.
- Flexibility: You can use SSH to do everything from transferring files to running commands on remote machines.
In short, SSH is your best friend when it comes to securing your IoT connections.
Downloading and Installing SSH on Windows
Now that your Raspberry Pi is set up, it’s time to connect to it from your Windows machine. Here’s how you can download and install SSH on Windows:
Step 1: Enable OpenSSH
Windows 10 and later versions come with OpenSSH built-in. To enable it, go to Settings > Apps > Optional Features and click on "More features." From there, search for "OpenSSH Client" and install it.
Step 2: Test the Connection
Open the Command Prompt and type:
ssh pi@your-raspberry-pi-ip-address
You’ll be prompted to enter the password for your Raspberry Pi. Once you’re in, you’ll have full control over your device.
Creating a Secure Connection
Now that you’ve got everything set up, let’s talk about how to create a truly secure connection. Here are some tips to keep your IoT devices safe:
- Use Strong Passwords: Avoid using obvious passwords like "password123." Instead, opt for something complex and unique.
- Enable Two-Factor Authentication: This adds an extra layer of security by requiring a second form of verification.
- Keep Your Software Updated: Regular updates ensure that any vulnerabilities are patched promptly.
By following these best practices, you’ll significantly reduce the risk of your devices being compromised.
Common Issues and How to Fix Them
Even the best-laid plans can hit a snag sometimes. Here are some common issues you might encounter and how to fix them:
Problem: SSH Connection Fails
Solution: Double-check that SSH is enabled on your Raspberry Pi and that your IP address is correct. If everything looks good, try restarting both devices.
Problem: Slow Connection
Solution: Make sure your Wi-Fi signal is strong and that there aren’t too many devices on your network. You might also want to consider using a wired connection for better performance.
Why Security Matters in IoT
IoT devices are everywhere these days, from smart thermostats to fitness trackers. But with convenience comes risk. Hackers are constantly looking for ways to exploit vulnerabilities in these devices, and the consequences can be dire.
Imagine someone gaining access to your home security system or your baby monitor. Scary, right? That’s why taking security seriously is so important. By using SSH and following best practices, you can protect your devices and your peace of mind.
Advanced Tips for Pro Users
Once you’ve mastered the basics, here are a few advanced tips to take your IoT setup to the next level:
- Set Up a Firewall: A firewall can help block unauthorized access to your devices.
- Use SSH Keys: Instead of passwords, SSH keys provide a more secure way to authenticate users.
- Monitor Logs: Regularly checking your logs can help you spot any suspicious activity before it becomes a problem.
These tips are perfect for users who want to push the boundaries of what their IoT devices can do.
Frequently Asked Questions
Got questions? We’ve got answers. Here are some of the most common questions we get about securely connecting remote IoT devices:
Q: Can I use this setup on other devices besides Raspberry Pi?
A: Absolutely! While Raspberry Pi is a popular choice, you can use this setup with any device that supports SSH.
Q: Is SSH the only way to secure my IoT connections?
A: No, there are other methods like SSL/TLS, but SSH is one of the easiest and most effective.
Q: How often should I update my software?
A: As often as possible! Regular updates ensure that any security vulnerabilities are patched promptly.
Wrapping It All Up
And there you have it, folks! Securely connect remote IoT P2P SSH Raspberry Pi download Windows might sound complicated, but with the right tools and knowledge, it’s totally doable. By following the steps in this guide, you’ll be able to create a secure and reliable connection that keeps your devices safe from prying eyes.
So what are you waiting for? Get out there and start building your IoT empire! And don’t forget to leave a comment below with your thoughts or questions. Who knows—your feedback might just inspire the next big idea!
Article Recommendations