Best Ways To Securely Connect Remote IoT P2P SSH On Raspberry Pi
Hey there, tech enthusiasts! If you're reading this, chances are you've been scratching your head wondering how to securely connect remote IoT devices using P2P SSH on a Raspberry Pi. Let's face it—IoT is everywhere, and with that comes the need for security. But don't sweat it, because in this article, we're diving deep into the world of secure IoT connections, and we're going to break it all down for you. So, buckle up, and let's get started!
When it comes to connecting remote IoT devices, security should always be at the forefront of your mind. You don't want some random hacker snooping around your network, right? That's why we're here to help you set up a secure P2P SSH connection on your trusty Raspberry Pi. Whether you're a seasoned pro or just starting out, this guide will give you the tools you need to keep your IoT devices safe and sound.
Now, before we dive into the nitty-gritty, let's quickly talk about why this is important. IoT devices are like the wild west of tech—lots of potential, but also lots of risks. By securing your remote connections, you're not only protecting your data but also ensuring that your devices function smoothly without any pesky intruders. Ready to learn more? Let's go!
Read also:Alina Rose Naked Unveiling The Truth Behind The Sensation
Why Secure Remote IoT Connections Matter
In today's digital age, securing your IoT devices is more important than ever. With so many devices connected to the internet, the risk of cyberattacks has skyrocketed. Think about it—your smart fridge, your security cameras, even your smart thermostat could be vulnerable if not properly secured. That's where securely connecting remote IoT devices using P2P SSH on a Raspberry Pi comes in.
Here’s a quick rundown of why security is crucial:
- Protects sensitive data from unauthorized access.
- Prevents malicious attacks on your network.
- Ensures your devices operate efficiently without interference.
- Saves you from potential legal and financial headaches.
So, yeah, securing your IoT devices isn't just a good idea—it's a necessity. And lucky for you, we've got all the tips and tricks to help you do just that.
Understanding SSH and Its Role in IoT Security
SSH, or Secure Shell, is like the superhero of secure connections. It allows you to remotely access and manage your devices over an encrypted connection. For IoT devices, SSH is a game-changer because it provides a secure way to control and monitor your gadgets from anywhere in the world.
Here's why SSH is so awesome for IoT:
- It encrypts all communication between devices, keeping your data safe from prying eyes.
- It offers strong authentication methods, ensuring only authorized users can access your devices.
- It's highly configurable, allowing you to tailor your security settings to your specific needs.
With SSH, you can rest easy knowing that your IoT devices are protected from potential threats. But wait, there's more! Let's talk about how to set up SSH on your Raspberry Pi.
Read also:Timothy Hawking The Untold Story Of Stephen Hawkings Eldest Son
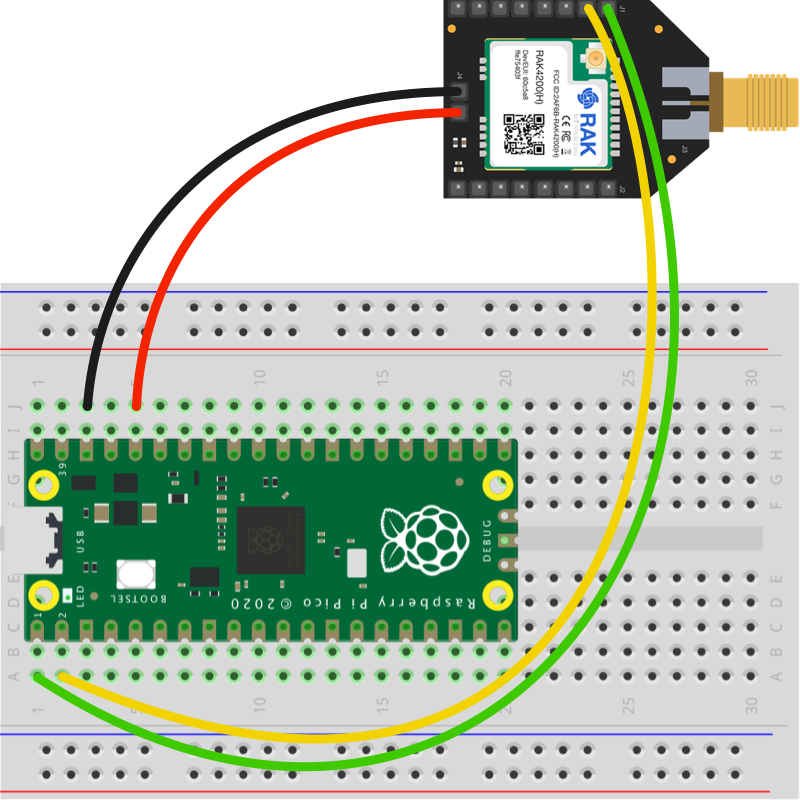
Setting Up SSH on Your Raspberry Pi
Setting up SSH on your Raspberry Pi is easier than you might think. Follow these simple steps, and you'll be up and running in no time:
Step 1: Enable SSH on your Raspberry Pi by going to the Raspberry Pi Configuration menu. You can do this by typing the following command in the terminal:
sudo raspi-config
Step 2: Navigate to the "Interfacing Options" and select SSH. Choose "Yes" to enable it.
Step 3: Reboot your Raspberry Pi to apply the changes. You can do this by typing:
sudo reboot
And that's it! You've successfully enabled SSH on your Raspberry Pi. Now, let's move on to the next step—securing your SSH connection.
Securing Your SSH Connection
Just enabling SSH isn't enough—you need to take extra steps to ensure your connection is secure. Here are some tips to help you fortify your SSH setup:
- Change the default SSH port to something other than 22. This makes it harder for attackers to find your SSH connection.
- Use strong, unique passwords for your SSH users. Avoid using common words or phrases.
- Consider using SSH keys instead of passwords for even stronger authentication.
- Limit the number of login attempts to prevent brute-force attacks.
By implementing these security measures, you'll significantly reduce the risk of unauthorized access to your IoT devices. But hey, we're not done yet! Let's talk about P2P connections.
What Is P2P and How Does It Work with IoT?
P2P, or peer-to-peer, is a type of network architecture where devices communicate directly with each other without the need for a central server. For IoT devices, P2P can be a game-changer because it eliminates the need for a middleman, making connections faster and more efficient.
Here's how P2P works with IoT:
- Devices establish a direct connection with each other.
- Data is transferred directly between devices, reducing latency.
- No need for a central server, which reduces costs and increases reliability.
By combining P2P with SSH, you can create a secure and efficient way to connect your IoT devices. But how do you actually set this up? Let's find out.
Setting Up a P2P SSH Connection
Setting up a P2P SSH connection requires a bit more effort, but it's totally worth it. Here's how you can do it:
Step 1: Install the necessary software on your Raspberry Pi. You'll need to install packages like OpenSSH and any P2P libraries you plan to use.
Step 2: Configure your SSH settings to allow P2P connections. This may involve tweaking your SSH config file to include P2P-specific settings.
Step 3: Test your connection to ensure everything is working as expected. You can do this by trying to connect to your Raspberry Pi from another device on the network.
Once you've completed these steps, you'll have a secure P2P SSH connection up and running. But remember, security is an ongoing process, so keep an eye on your setup and make updates as needed.
Best Practices for Securing IoT Devices
Now that you know how to set up a secure P2P SSH connection on your Raspberry Pi, let's talk about some best practices for securing your IoT devices:
- Regularly update your software and firmware to patch any security vulnerabilities.
- Use a strong firewall to block unauthorized access to your network.
- Monitor your devices for any suspicious activity and take action if needed.
- Consider using a dedicated IoT security solution for added protection.
By following these best practices, you'll be well on your way to creating a secure IoT ecosystem. But hey, we've got one more thing to cover—troubleshooting.
Troubleshooting Common Issues
Even with the best-laid plans, things can go wrong. Here are some common issues you might encounter when setting up a secure P2P SSH connection on your Raspberry Pi, along with solutions:
- Issue: Unable to connect to SSH. Solution: Check your SSH settings and ensure the service is running.
- Issue: Slow connection speeds. Solution: Optimize your network settings and reduce latency.
- Issue: Security breaches. Solution: Review your security settings and update them as needed.
By addressing these issues head-on, you'll ensure a smooth and secure connection for your IoT devices. But wait, there's one more thing—let's wrap it up!
Conclusion
So, there you have it—everything you need to know about securely connecting remote IoT devices using P2P SSH on a Raspberry Pi. From setting up SSH to securing your connections and troubleshooting common issues, we've covered it all. Remember, security is key when it comes to IoT, so always stay vigilant and keep your devices protected.
We'd love to hear your thoughts and experiences with securing IoT devices. Leave a comment below and let us know what works for you. And don't forget to share this article with your tech-savvy friends. Together, we can create a safer and more connected world!
Table of Contents
- Why Secure Remote IoT Connections Matter
- Understanding SSH and Its Role in IoT Security
- Setting Up SSH on Your Raspberry Pi
- Securing Your SSH Connection
- What Is P2P and How Does It Work with IoT?
- Setting Up a P2P SSH Connection
- Best Practices for Securing IoT Devices
- Troubleshooting Common Issues
- Conclusion
References
Article Recommendations