Best Remote Monitoring With Raspberry Pi: Your Ultimate Guide To Building A Smart Surveillance System
Imagine this: You're miles away from home, sipping coffee on a sunny terrace, and suddenly you want to check if your front door is locked. What if you could do that with just a few taps on your phone? Sounds like magic? Well, it's not—it's the power of remote monitoring with Raspberry Pi!
Nowadays, everyone's talking about smart homes, IoT devices, and remote monitoring systems. But here's the deal—why spend hundreds of dollars on fancy gadgets when you can build your own setup with a Raspberry Pi? Not only is it cost-effective, but it's also super customizable and fun to tinker with. Whether you're monitoring your home, office, or even a remote weather station, Raspberry Pi is your go-to solution.
This guide dives deep into the world of remote monitoring using Raspberry Pi. We'll cover everything from setting up your hardware to deploying advanced software solutions. By the time you're done reading, you'll have all the tools you need to create a top-notch remote monitoring system tailored to your needs. So, grab your Pi and let's get started!
Read also:Charlie Sheen 2025 The Untold Story And Whatrsquos Coming Next
Here's what we'll be covering:
- Introduction to Remote Monitoring with Raspberry Pi
- Raspberry Pi Basics: What You Need to Know
- Hardware Setup: Building the Foundation
- Software Solutions for Remote Monitoring
- Camera Integration: Seeing Is Believing
- Data Logging: Keeping Track of Everything
- Security Measures: Protecting Your System
- Optimization Tips: Making It Faster and Smarter
- Common Issues and Troubleshooting
- Conclusion: Your Path to Success
Introduction to Remote Monitoring with Raspberry Pi
So, what exactly is remote monitoring with Raspberry Pi? Simply put, it's the ability to monitor and control devices or environments from anywhere in the world using a Raspberry Pi as the brain of your system. Whether you're tracking temperature changes, monitoring security cameras, or even controlling smart home devices, Raspberry Pi can handle it all.
Remote monitoring is more than just a buzzword; it's a practical solution for a wide range of applications. Think about it—farmers can monitor soil moisture levels, parents can keep an eye on their kids while they're at work, and businesses can track inventory in real-time. The possibilities are endless!
But why Raspberry Pi? Well, it's compact, affordable, and incredibly versatile. With its GPIO pins, you can connect a variety of sensors and devices, and with its processing power, you can run complex software solutions. Plus, the community support is second to none, so you'll never run out of ideas or help.
Raspberry Pi Basics: What You Need to Know
What is Raspberry Pi?
Raspberry Pi is a single-board computer that's been taking the tech world by storm. It's small, powerful, and perfect for DIY projects. The latest models come with quad-core processors, 4GB of RAM, and a host of connectivity options, including Wi-Fi and Bluetooth.
But here's the thing—Raspberry Pi isn't just for tech enthusiasts. It's a great tool for anyone who wants to learn about programming, electronics, or even just automate their daily tasks. And with a price tag that's usually under $50, it's an excellent investment for anyone looking to dive into the world of IoT.
Read also:Tulsi Gabbard Parents The Unsung Pillars Behind A Political Phenomenon
Choosing the Right Raspberry Pi Model
Not all Raspberry Pi models are created equal. Here's a quick rundown of the most popular options:
- Raspberry Pi 4: The latest and greatest, perfect for heavy-duty tasks.
- Raspberry Pi 3: A solid choice if you're on a budget but still want decent performance.
- Raspberry Pi Zero: Ultra-compact and affordable, great for lightweight projects.
When choosing a model, consider the specific requirements of your project. If you're planning to run multiple cameras or process large amounts of data, go for the Raspberry Pi 4. But if you're just starting out, the Raspberry Pi 3 might be all you need.
Hardware Setup: Building the Foundation
Before you can start monitoring, you'll need to set up your hardware. Here's a step-by-step guide to help you get started:
Gathering Your Components
Here's a list of the basic components you'll need:
- Raspberry Pi board
- MicroSD card (16GB or more)
- Power supply (official Raspberry Pi power adapter recommended)
- Case (optional but recommended for protection)
- Camera module (for video monitoring)
- Sensors (e.g., temperature, humidity, motion detectors)
- Wi-Fi dongle (if your Pi doesn't have built-in Wi-Fi)
Pro tip: Invest in high-quality components to ensure your system runs smoothly and reliably.
Setting Up Your Raspberry Pi
Once you have all your components, it's time to set up your Raspberry Pi. Here's how:
- Download the latest version of Raspberry Pi OS from the official website.
- Use a tool like BalenaEtcher to flash the OS onto your microSD card.
- Insert the microSD card into your Raspberry Pi and power it on.
- Follow the on-screen instructions to complete the initial setup.
And just like that, you're ready to roll! Now let's move on to the fun part—software solutions.
Software Solutions for Remote Monitoring
With your hardware all set up, it's time to choose the right software for your remote monitoring needs. Here are some popular options:
OpenCV for Computer Vision
OpenCV is an open-source computer vision library that's perfect for video monitoring. It allows you to detect motion, recognize faces, and even track objects. Plus, it's easy to integrate with Raspberry Pi thanks to Python bindings.
To get started with OpenCV, follow these steps:
- Install OpenCV by running
sudo apt-get install python3-opencv. - Write a Python script to capture video from your camera and process it using OpenCV.
- Test your setup to ensure everything is working as expected.
Home Assistant for Smart Home Integration
Home Assistant is a popular open-source platform for home automation. It allows you to control and monitor a wide range of devices, including Raspberry Pi-based systems. With its user-friendly interface and extensive integrations, it's a great choice for anyone looking to build a comprehensive remote monitoring solution.
Here's how to set up Home Assistant:
- Download the Home Assistant OS image and flash it onto your microSD card.
- Power on your Raspberry Pi and access the Home Assistant web interface.
- Install integrations for your sensors and devices.
- Configure automations and dashboards to suit your needs.
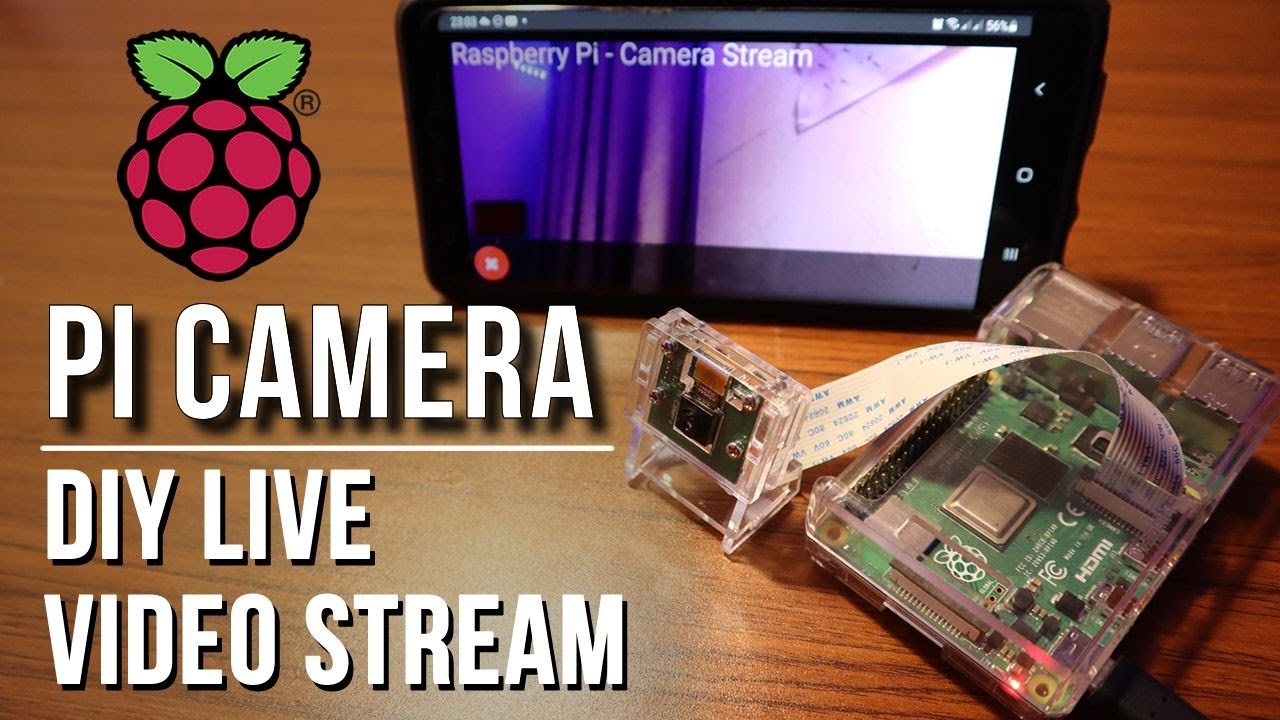
Camera Integration: Seeing Is Believing
One of the most common applications of remote monitoring with Raspberry Pi is video surveillance. By integrating a camera module, you can keep an eye on your property from anywhere in the world. Here's how to do it:
Installing the Camera Module
Raspberry Pi offers an official camera module that's easy to install and configure. Here's how:
- Connect the camera module to the CSI port on your Raspberry Pi.
- Enable the camera interface in the Raspberry Pi configuration tool.
- Test the camera by running
raspistill -o test.jpg.
Once your camera is up and running, you can start experimenting with different software solutions to enhance its capabilities.
Data Logging: Keeping Track of Everything
Data logging is an essential part of any remote monitoring system. Whether you're tracking temperature changes, motion events, or energy consumption, having a reliable data logging solution is crucial. Here's how to set it up:
Using InfluxDB for Time-Series Data
InfluxDB is a powerful open-source database designed for time-series data. It's perfect for storing sensor readings and other types of data that change over time. Here's how to install and configure InfluxDB on your Raspberry Pi:
- Install InfluxDB by running
sudo apt-get install influxdb. - Start the InfluxDB service and create a database for your data.
- Write a Python script to send sensor data to InfluxDB using the InfluxDB client library.
With InfluxDB in place, you can easily visualize your data using tools like Grafana.
Security Measures: Protecting Your System
Security is a top priority when it comes to remote monitoring. After all, you don't want unauthorized access to your cameras or sensors. Here are some best practices to keep your system secure:
Enable SSH for Remote Access
SSH (Secure Shell) allows you to securely access your Raspberry Pi from anywhere in the world. Here's how to set it up:
- Enable SSH in the Raspberry Pi configuration tool.
- Set up a strong password or use public key authentication for added security.
- Consider using a tool like fail2ban to protect against brute-force attacks.
Use HTTPS for Web Interfaces
If you're running web-based interfaces for your monitoring system, make sure to use HTTPS to encrypt all communications. Here's how:
- Install a web server like Apache or Nginx on your Raspberry Pi.
- Obtain an SSL certificate from a trusted provider like Let's Encrypt.
- Configure your web server to use HTTPS.
Optimization Tips: Making It Faster and Smarter
Now that your system is up and running, it's time to optimize it for maximum performance. Here are some tips to help you get the most out of your Raspberry Pi:
Overclock Your Pi
Overclocking can give your Raspberry Pi a performance boost, but be careful not to overdo it. Here's how:
- Open the Raspberry Pi configuration tool and navigate to the "Performance" tab.
- Adjust the CPU and GPU frequencies to suit your needs.
- Monitor your Pi's temperature to ensure it doesn't overheat.
Use Lightweight Software
Lightweight software can help reduce resource usage and improve responsiveness. For example, instead of using a full-fledged web server like Apache, consider using a lightweight alternative like Lighttpd.
Common Issues and Troubleshooting
No matter how careful you are, issues can still arise. Here are some common problems and how to fix them:
Camera Not Working
If your camera isn't working, try these troubleshooting steps:
- Ensure the camera module is properly connected to the CSI port.
- Check that the camera interface is enabled in the Raspberry Pi configuration tool.
- Run the
raspistillcommand to test the camera.
Slow Performance
If your Raspberry Pi is running slow, consider these solutions:
- Optimize your software by using lightweight alternatives.
- Free up disk space by deleting unnecessary files.
- Overclock your Pi if necessary, but monitor its temperature closely.
Conclusion: Your Path to Success
There you have it—your ultimate guide to building the best remote monitoring system with Raspberry Pi. From setting up your hardware to deploying advanced software solutions, you now have all the tools you need to create a smart and secure monitoring system tailored to your needs.
Remember, the key to success is experimentation and learning
Article Recommendations