How To Use SSH Remote IoT On Mac: A Beginner's Guide
So listen up, my tech-savvy friends. If you've been scratching your head trying to figure out how to use SSH remote IoT on Mac, you're in the right place. Imagine this: You're sitting in your cozy living room, sipping your favorite coffee, and you want to control your IoT devices remotely. Sounds cool, right? But where do you even start? Let’s break it down step by step. This isn’t rocket science, but it does require a little finesse.
SSH, or Secure Shell, is like your secret passageway to access and manage remote devices securely. And when it comes to IoT (Internet of Things) devices, having this skill in your pocket is like having a superpower. Whether you’re a hobbyist or a professional, understanding how to use SSH remote IoT on Mac can save you a ton of time and headaches. Trust me, I’ve been there.
Now, before we dive into the nitty-gritty, let’s set the stage. In this guide, we’ll cover everything from setting up SSH on your Mac to connecting to your IoT devices like a pro. So grab your laptop, get comfy, and let’s make this happen. Your IoT devices are waiting for your command!
Read also:Charlie Sheen 2025 The Untold Story And Whatrsquos Coming Next
Table of Contents:
- Setting Up SSH on Your Mac
- Understanding IoT Basics
- Why Use SSH for IoT?
- How to Use SSH on Mac
- Connecting to IoT Devices via SSH
- SSH Security Tips
- Troubleshooting Common SSH Issues
- Essential SSH Tools for Mac
- Automating SSH Connections
- Wrapping It Up
Setting Up SSH on Your Mac
Alright, let’s get the basics out of the way. First things first, you need to make sure SSH is enabled on your Mac. Lucky for you, macOS comes with SSH pre-installed. All you gotta do is fire up your Terminal and start tinkering. It’s like having a Swiss Army knife in your pocket, ready to tackle any task.
Here’s how you can check if SSH is running on your Mac:
- Open Terminal (you can find it in Applications > Utilities).
- Type
sshand hit enter. If it spits out some info about SSH, congrats, you’re good to go. - If not, don’t panic. You can enable SSH by heading to System Preferences > Sharing and ticking the box next to Remote Login.
Once SSH is up and running, you’re ready to start exploring the world of remote IoT connections. Easy peasy, right?
Checking Your Mac’s SSH Version
Before you dive headfirst into connecting to your IoT devices, it’s a good idea to check which version of SSH your Mac is running. Why? Because newer versions often come with better security features and bug fixes. You don’t want to be left behind, do you?
Here’s how you can check your SSH version:
Read also:Peter Dinklage Wife The Love Story Behind The Game Of Thrones Legend
- Open Terminal.
- Type
ssh -V(that’s a capital V). - It’ll spit out something like “OpenSSH_8.1p1, LibreSSL 2.7.3.” That’s your version number, my friend.
If your version is outdated, consider updating macOS to get the latest and greatest SSH features. Your IoT devices will thank you for it.
Understanding IoT Basics
Let’s take a step back for a sec. What exactly is IoT, and why should you care? IoT, or Internet of Things, is all about connecting everyday devices to the internet. Think smart thermostats, security cameras, and even your fridge. These devices can talk to each other and share data, making your life easier and more efficient.
But here’s the kicker: To really harness the power of IoT, you need a way to manage and control these devices remotely. That’s where SSH comes in. It’s like the secret handshake that lets you access your IoT devices from anywhere in the world. Pretty cool, huh?
What Makes IoT Devices Special?
IoT devices aren’t your average gadgets. They’re designed to be smart, connected, and, most importantly, secure. Here are a few key features that set IoT devices apart:
- Connectivity: IoT devices are always online, ready to send and receive data.
- Automation: Many IoT devices can be programmed to perform tasks automatically, saving you time and effort.
- Security: With great power comes great responsibility. IoT devices need robust security measures to protect your data.
Now that you know what IoT is all about, let’s dive into why SSH is the perfect tool for managing these devices.
Why Use SSH for IoT?
Here’s the deal: SSH is the gold standard when it comes to secure remote connections. It encrypts all your data, making it nearly impossible for hackers to snoop on your activities. And when you’re dealing with IoT devices, security is a top priority.
But that’s not all. SSH also offers a bunch of other benefits that make it the go-to choice for IoT enthusiasts:
- Reliability: SSH connections are rock-solid, even over unstable networks.
- Flexibility: You can use SSH to run commands, transfer files, and even set up tunnels for secure communication.
- Automation: SSH scripts can automate repetitive tasks, saving you time and effort.
So whether you’re managing a single IoT device or an entire network of them, SSH has got your back.
SSH vs. Other Protocols
You might be wondering, “Why not just use something else, like Telnet or FTP?” Well, let me tell you why SSH is the better choice:
- Security: Unlike Telnet and FTP, SSH encrypts all your data, keeping it safe from prying eyes.
- Features: SSH offers a wide range of features, from file transfers to port forwarding, that other protocols simply can’t match.
- Compatibility: SSH works seamlessly with a variety of devices and operating systems, making it the perfect choice for IoT.
Now that you know why SSH is the way to go, let’s get into the nitty-gritty of using it on your Mac.
How to Use SSH on Mac
Using SSH on your Mac is easier than you might think. All you need is a terminal window and a few commands, and you’ll be up and running in no time. Let’s walk through the process step by step.
Step 1: Open Terminal. You can find it in Applications > Utilities or just hit Command + Space and type “Terminal.”
Step 2: Enter the SSH command. Here’s the basic syntax:
ssh username@hostname
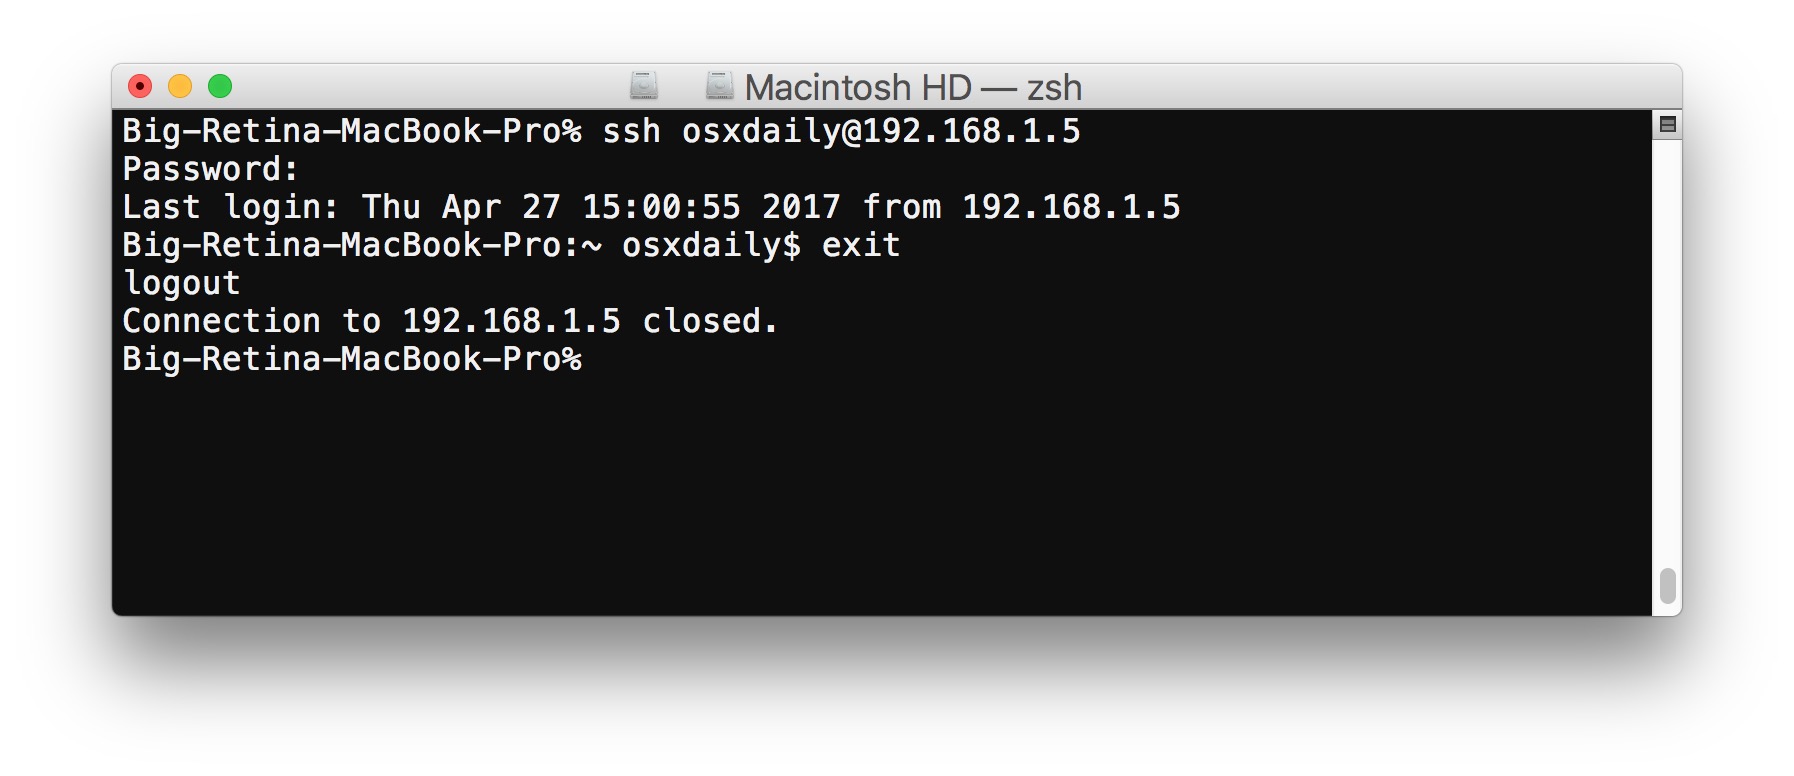
Replace “username” with your IoT device’s username and “hostname” with its IP address or domain name. For example, if your device’s IP is 192.168.1.100 and the username is “admin,” you’d type:
ssh admin@192.168.1.100
Step 3: Enter your password when prompted. And just like that, you’re in!
Tips for Using SSH on Mac
Here are a few tips to make your SSH experience smoother:
- Use SSH Keys: Instead of typing a password every time, set up SSH keys for password-less authentication.
- Save Your Commands: Use a text editor to save your SSH commands, so you don’t have to retype them every time.
- Stay Organized: Keep a list of your IoT devices’ IP addresses and usernames handy for quick reference.
With these tips in your toolbox, you’ll be an SSH pro in no time.
Connecting to IoT Devices via SSH
Now that you know how to use SSH on your Mac, let’s talk about connecting to your IoT devices. Whether you’re managing a smart thermostat or monitoring a security camera, SSH makes it easy to access and control your devices remotely.
Here’s how you can connect to an IoT device using SSH:
- Make sure your device is connected to the same network as your Mac.
- Find your device’s IP address (usually in the device’s settings).
- Open Terminal and enter the SSH command, replacing “username” and “hostname” with your device’s credentials.
Once you’re connected, you can start exploring your device’s settings and running commands. It’s like having a remote control for your IoT devices.
Common IoT Devices and Their SSH Credentials
Here’s a quick rundown of some popular IoT devices and their default SSH credentials:
- Raspberry Pi: Username: pi, Password: raspberry
- TP-Link Smart Devices: Username: admin, Password: admin
- Arduino Yun: Username: root, Password: arduino
Remember to change these default credentials as soon as possible to keep your devices secure.
SSH Security Tips
Security is a top priority when it comes to IoT devices. Here are a few tips to keep your SSH connections safe and sound:
- Use Strong Passwords: Avoid using simple or easily guessable passwords. Mix it up with letters, numbers, and symbols.
- Enable Two-Factor Authentication: Add an extra layer of security by requiring a second form of authentication.
- Limit Access: Restrict SSH access to trusted IP addresses only.
By following these tips, you’ll be well on your way to creating a secure SSH environment for your IoT devices.
SSH Key Authentication
One of the best ways to secure your SSH connections is by using key-based authentication. Here’s how you can set it up:
- Generate a key pair using the
ssh-keygencommand. - Copy the public key to your IoT device using the
ssh-copy-idcommand. - Disable password authentication on your device to prevent brute-force attacks.
With key-based authentication, you’ll never have to worry about forgetting your password again.
Troubleshooting Common SSH Issues
Even the best-laid plans can go awry sometimes. If you’re having trouble with your SSH connections, here are a few common issues and how to fix them:
- Connection Refused: Make sure SSH is enabled on your device and that the IP address is correct.
- Authentication Failed: Double-check your username and password. If you’re using keys, ensure the public key is properly installed on the device.
- Timeout Errors: Check your network connection and make sure there are no firewalls blocking the SSH port (default is 22).
By troubleshooting these common issues, you’ll be back up and running in no time.
Using SSH Logs for Debugging
If you’re still stuck, SSH logs can be a lifesaver. Here’s how you can check them:
- On your Mac, check the system logs in Console.app.
- On your IoT device, look for SSH logs in
/var/log/auth.log.
These logs can give you valuable insights into what’s going wrong with your SSH connection.
Essential SSH Tools for Mac
There are a bunch of great tools out there to make your SSH experience even better. Here are a
Article Recommendations